

AI Integration Quick Reference
AI Integration Quick Reference
Prerequisites
You need three things from the CometChat Dashboard:
You also need:
- Node.js (v16+) and npm/yarn installed
- Expo CLI installed (
npm install -g expo-cli) - Xcode (for iOS) and Android Studio (for Android) for development builds
Step 1 — Create an Expo Project
Step 2 — Install the UI Kit
Configure app.json
Add required permissions for camera and microphone:app.json
Optional: Install Calling SDK
To enable voice/video calling:Step 3 — Initialize CometChat
- TypeScript
- JavaScript
Step 4 — Login
After init resolves, log the user in. For development, use one of the pre-created test UIDs:cometchat-uid-1 · cometchat-uid-2 · cometchat-uid-3 · cometchat-uid-4 · cometchat-uid-5
- TypeScript
- JavaScript
For production, use
loginWithAuthToken() instead of Auth Key. Generate tokens server-side via the REST API.Step 5 — Choose a Chat Experience
Integrate a conversation view that suits your app’s UX. Each option below includes a step-by-step guide.Conversation List + Message View
List of conversations on one screen, tap to open messages. Standard mobile chat pattern.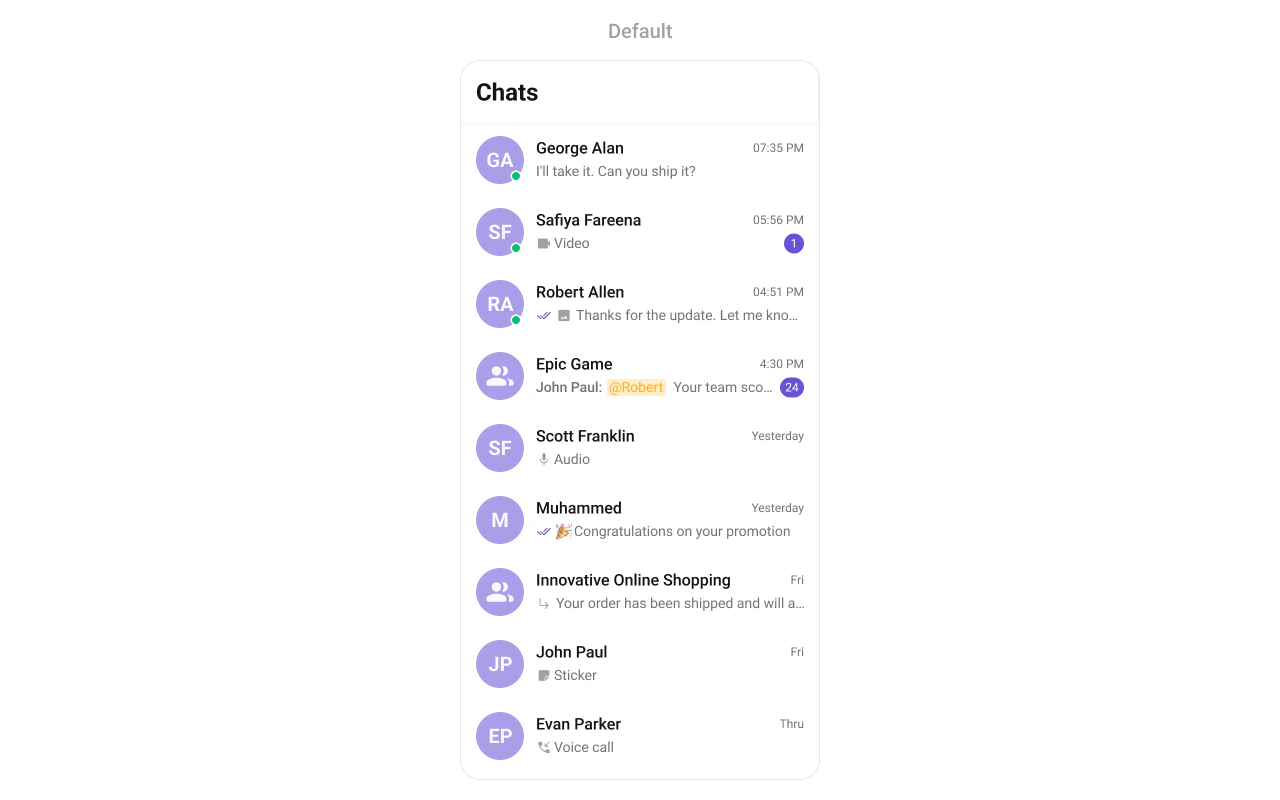
Build Conversation List + Message View
Step-by-step guide to build this layout
One-to-One / Group Chat
Single chat window — no conversation list. Good for support chat or focused messaging.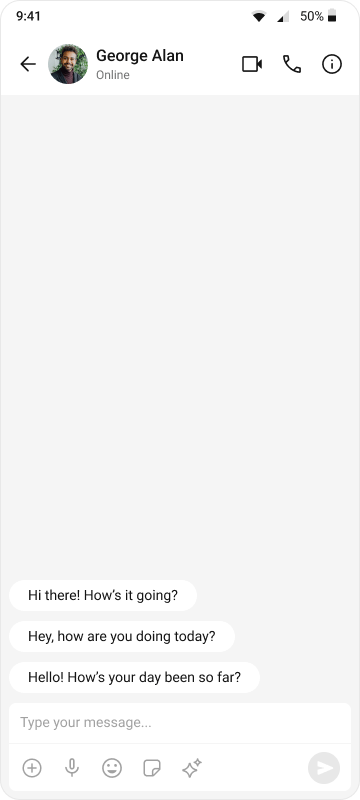
Build One-to-One / Group Chat
Step-by-step guide to build this layout
Tab-Based Chat
Tabbed navigation — Chats, Users, Groups, Calls in separate tabs. Good for full-featured apps.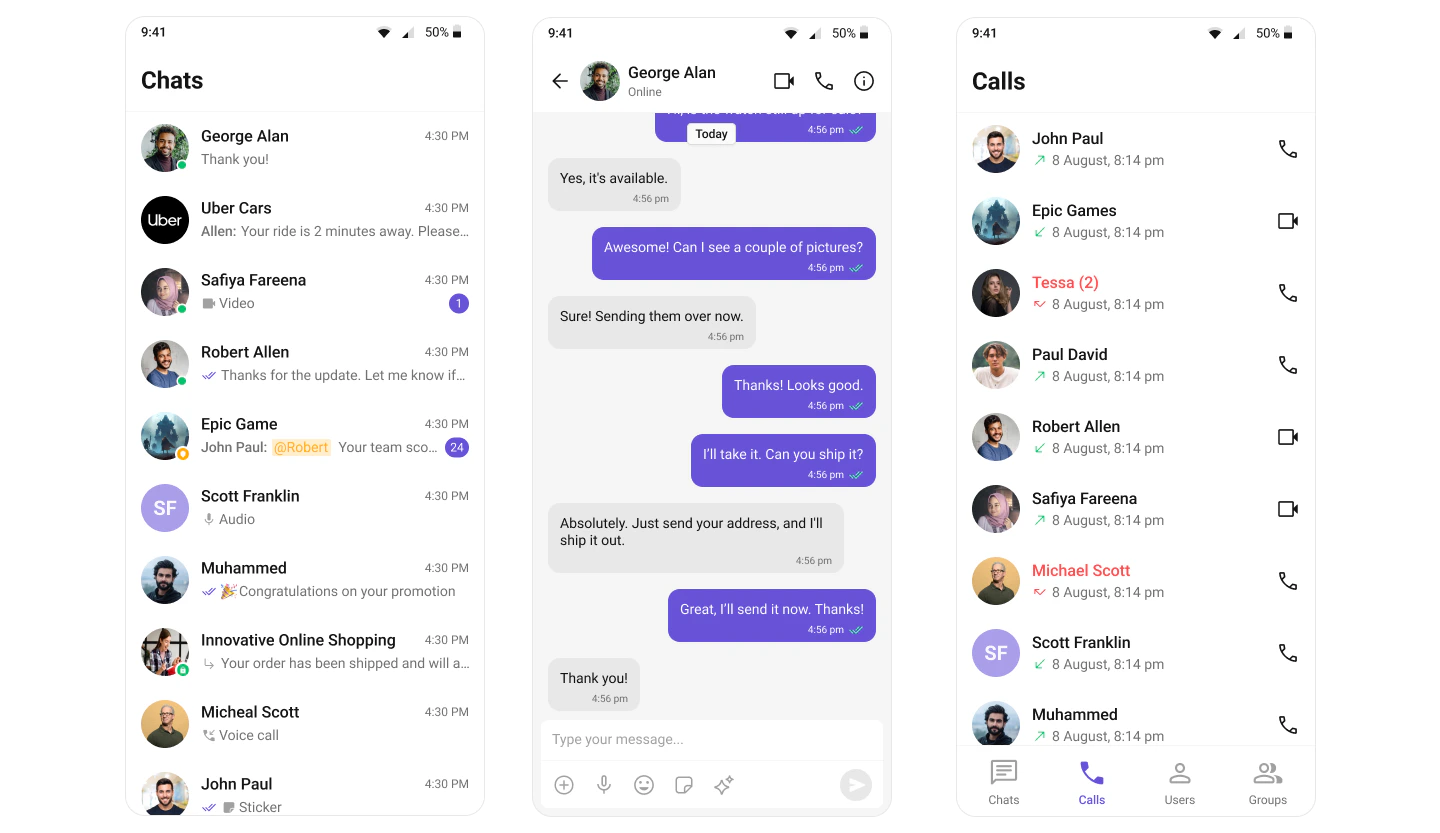
Build Tab-Based Chat
Step-by-step guide to build this layout
Running Development Builds
Since Expo Go is not supported, you need to create development builds:- iOS
- Android
Reference Implementation
For a complete working example, check out the SampleAppExpo repository.Next Steps
Components Overview
Browse all prebuilt UI components
Theming
Customize colors, fonts, and styles
Core Features
Chat features included out of the box
Troubleshooting
Common issues and fixes