

AI Integration Quick Reference
AI Integration Quick Reference
Prerequisites
You need three things from the CometChat Dashboard:
You also need:
- Android Studio installed
- An Android emulator or physical device running Android 7.0 (API 24) or higher
- Java 8 or higher
- Gradle plugin 4.0.1 or later
Step 1 — Create an Android Project
- Open Android Studio and start a new project.
- Choose Empty Activity as the project template.
- Enter a project name and choose Java or Kotlin as the language.
- Set minimum API level to 24 or higher.
Step 2 — Install Dependencies
Add the CometChat repository and dependencies to your Gradle configuration.Add the CometChat Repository
Add the CometChat Maven repository to your project-levelsettings.gradle or settings.gradle.kts file.
- Kotlin
- Groovy
settings.gradle.kts
Add the CometChat Dependency
- Version Catalog (libs.versions.toml)
- Gradle (build.gradle)
Inside Under the Now, in your app-level
libs.versions.toml, add the CometChat Chat UI Kit version under the [versions] section:libs.versions.toml
[libraries] section, define the library and reference the version:libs.versions.toml
build.gradle.kts file, add the dependency using libs from Version Catalogs:build.gradle.kts
Add AndroidX Support
The Jetifier tool helps migrate legacy support libraries to AndroidX. Opengradle.properties and verify this line is present:
gradle.properties
Step 3 — Initialize and Login
To authenticate a user, you need a UID. You can either create users on the CometChat Dashboard, via the SDK method, or through the REST API. For development, use one of the pre-created test UIDs:cometchat-uid-1 · cometchat-uid-2 · cometchat-uid-3 · cometchat-uid-4 · cometchat-uid-5
- Kotlin
- Java
MainActivity.kt
Step 4 — Set Up Global Theme
To customize component styling across your application, set up the CometChat Theme. Use theCometChatTheme.DayNight style, which is built on Theme.MaterialComponents.DayNight.NoActionBar.
themes.xml
AndroidManifest.xml
Step 5 — Choose a Chat Experience
Integrate a conversation view that suits your app’s UX. Each option below includes a description and a step-by-step guide.Conversation List + Message View
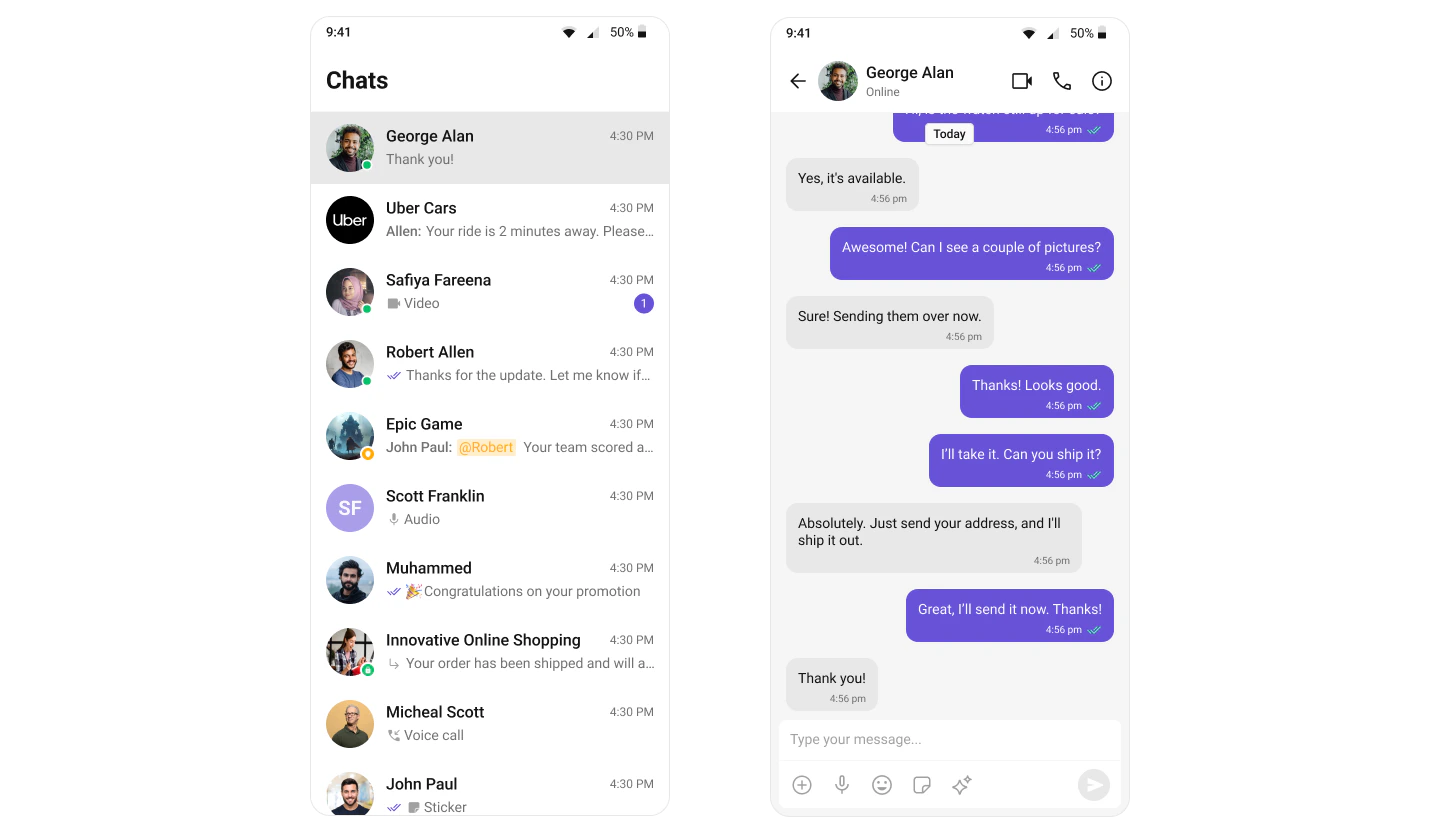
Single-screen layout for mobile — tap a conversation to open the message view. Handles one-to-one and group conversations with real-time updates and session persistence.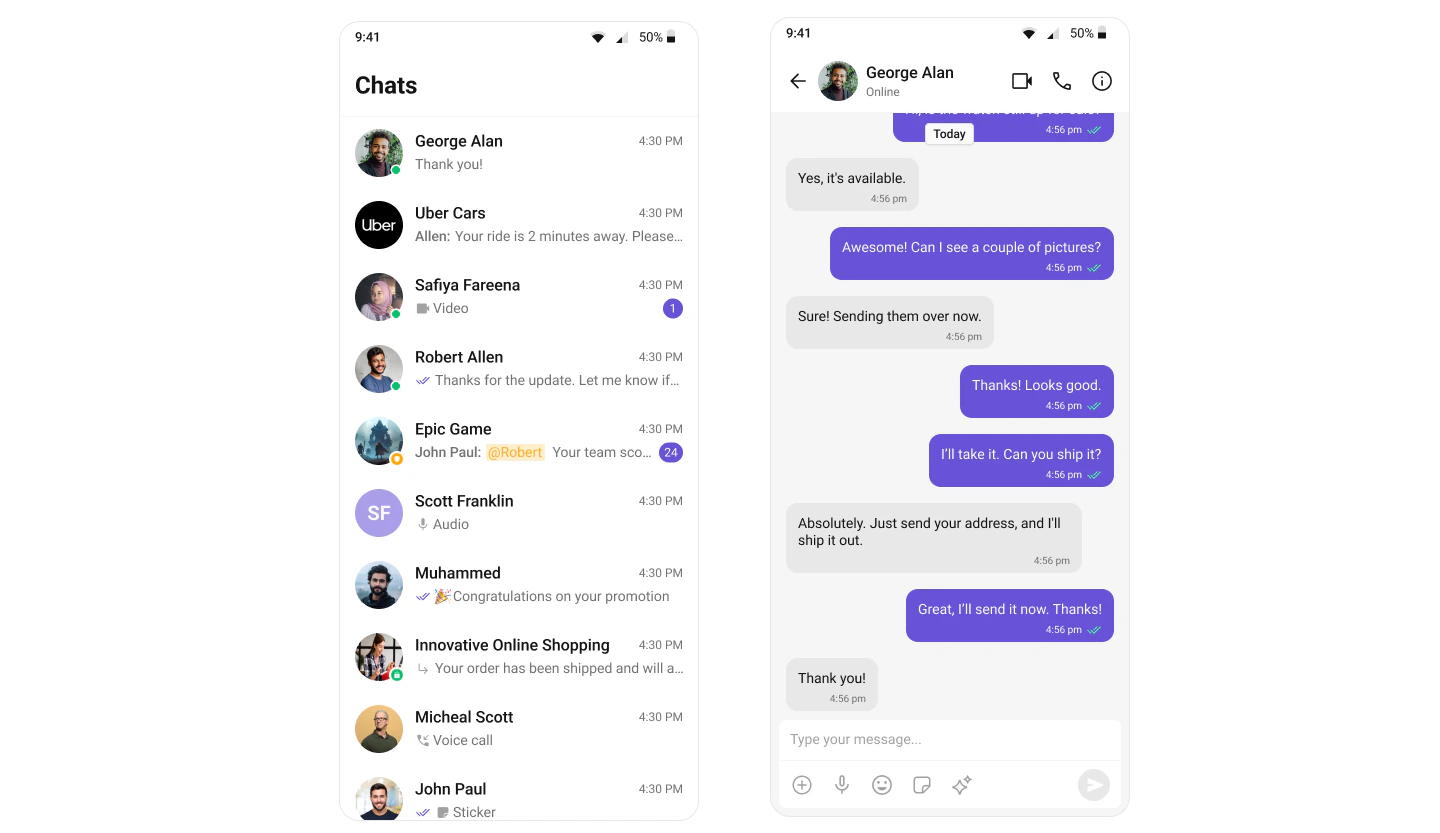
Build Conversation List + Message View
Step-by-step guide to build this layout
One-to-One / Group Chat
Single chat window — no sidebar. Loads a specific user or group chat directly. Ideal for support chat, direct messages, or notification-driven flows.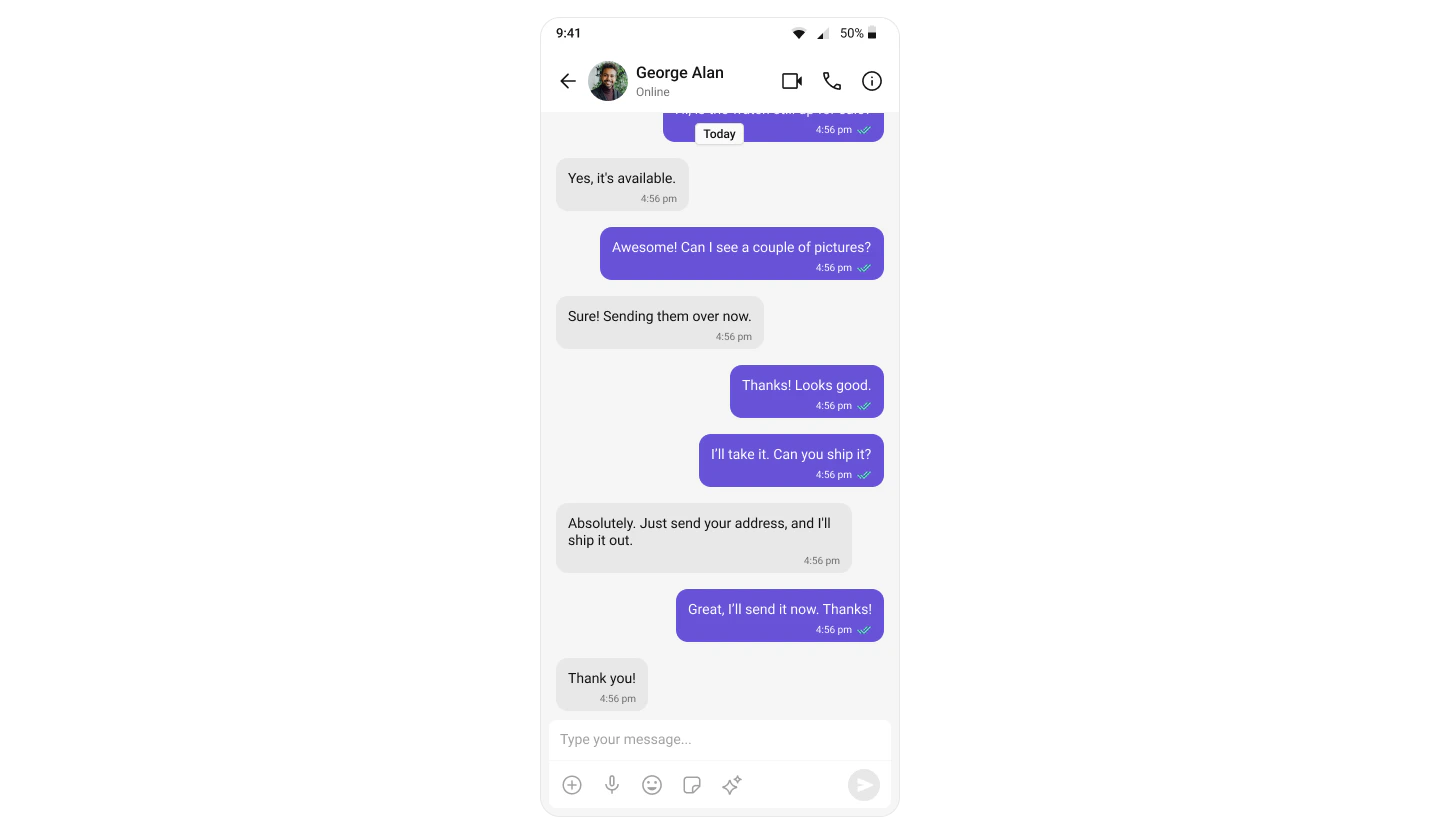
Build One-to-One / Group Chat
Step-by-step guide to build this layout
Tab-Based Chat
Bottom navigation with tabs for Chats, Calls, Users, and Settings. Mobile-first, modular, and extensible for multi-feature apps.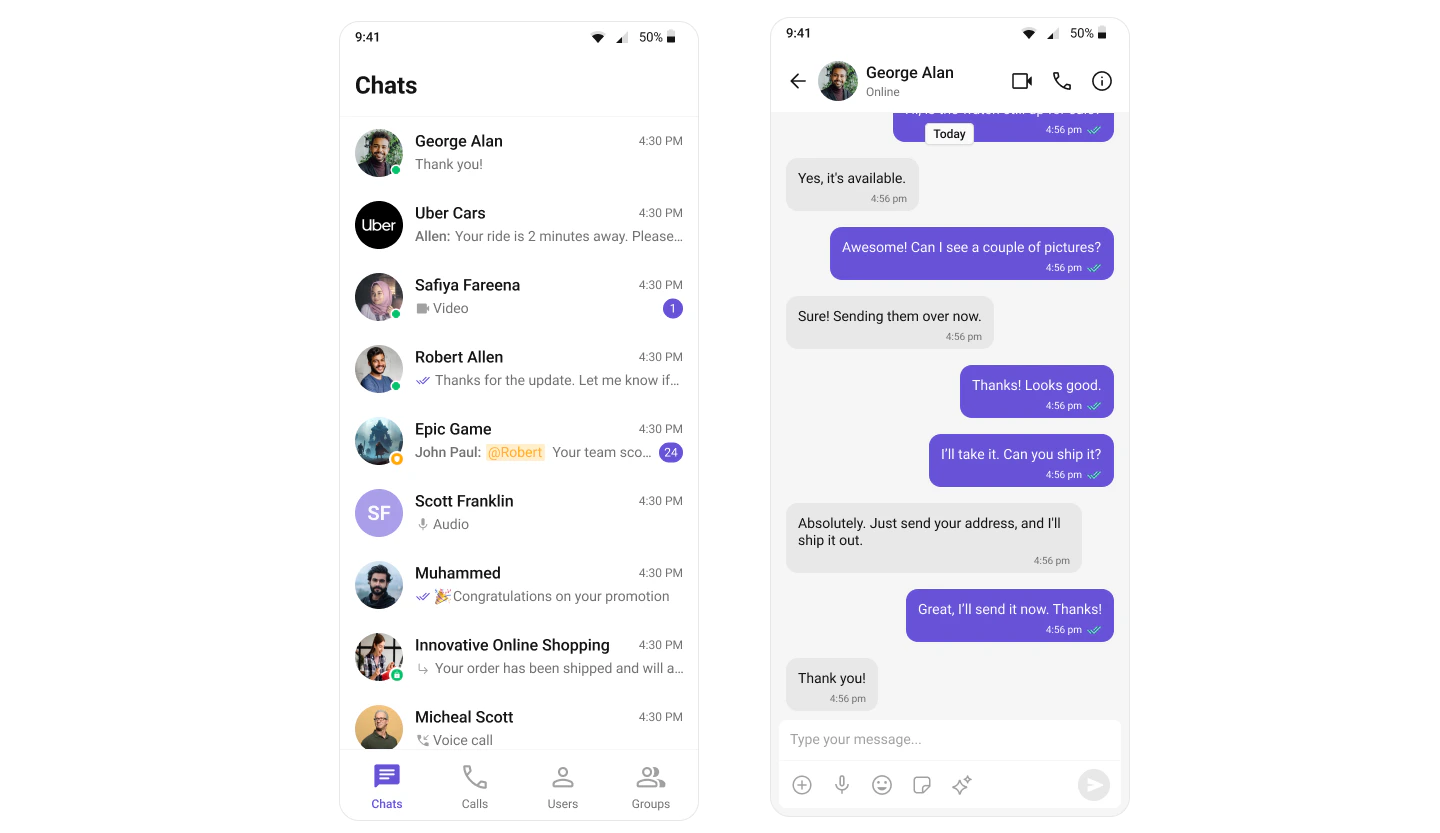
Build Tab-Based Chat
Step-by-step guide to build this layout
Build Your Own Chat Experience
Need full control over the UI? Use individual components, customize themes, and wire up your own layouts.Sample App
Working reference app to compare against
Components
All prebuilt UI elements with customization options
Core Features
Messaging, real-time updates, and other capabilities
Theming
Colors, fonts, dark mode, and custom styling
Build Your Own UI
Skip the UI Kit entirely and build on the raw SDK
Next Steps
Components Overview
Browse all prebuilt UI components
Theming
Customize colors, fonts, and styles
Core Features
Chat features included out of the box
Troubleshooting
Common issues and fixes